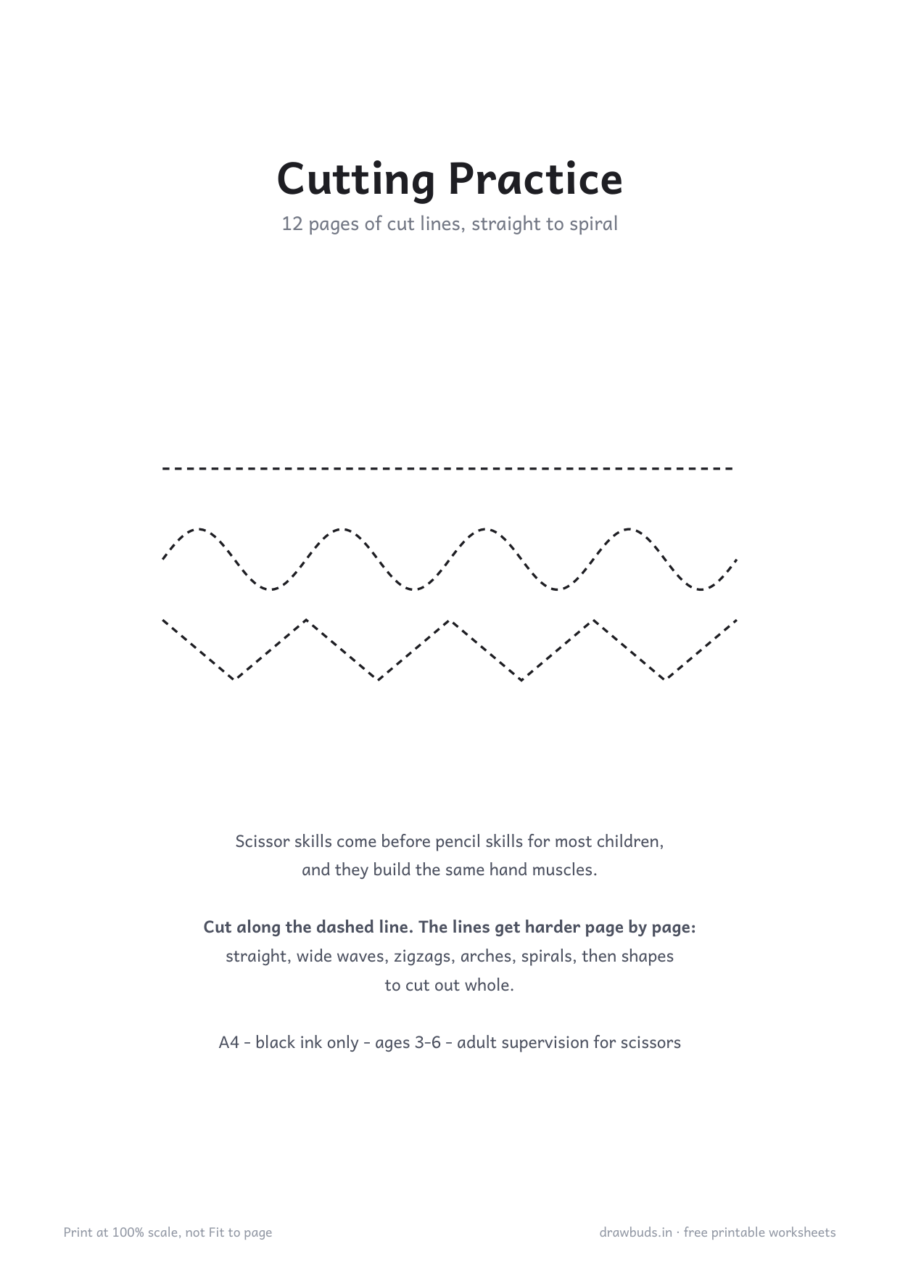
Scissor Cutting Practice Worksheets
13 printable pages. Eight pages of cut lines from straight to loops, then four pages of shapes to cut out whole. Adult supervision required.
- Pages
- 13
- Ages
- 3-6
- Paper size
- A4
- Black ink only
Free to print at home, at school, and in a classroom of thirty.
Eight line pages and four pages of shapes to cut out
Scissor skills come before pencil skills for most children, and they build the same hand. Opening and closing scissors works the exact muscles that later hold a pencil steady, which is why occupational therapists reach for scissors before worksheets.
What is in it
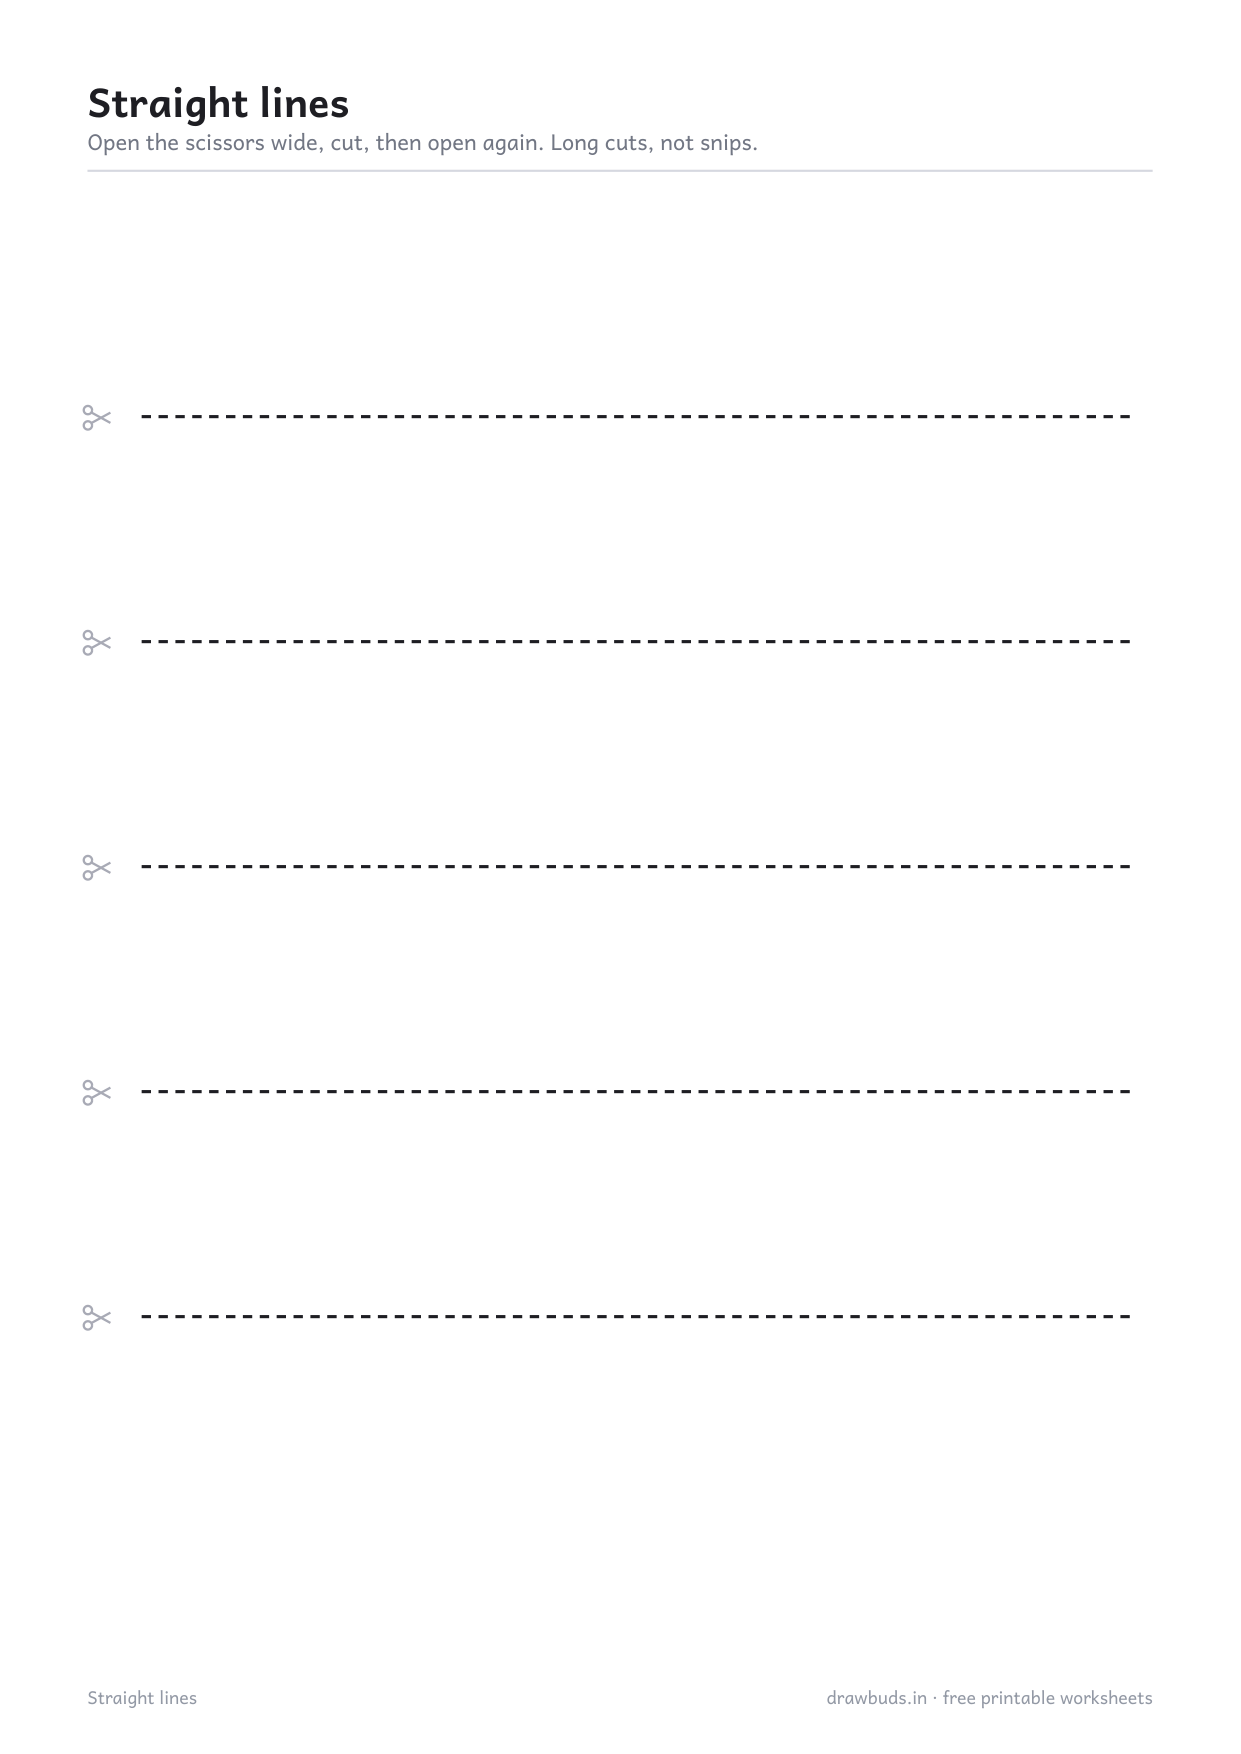
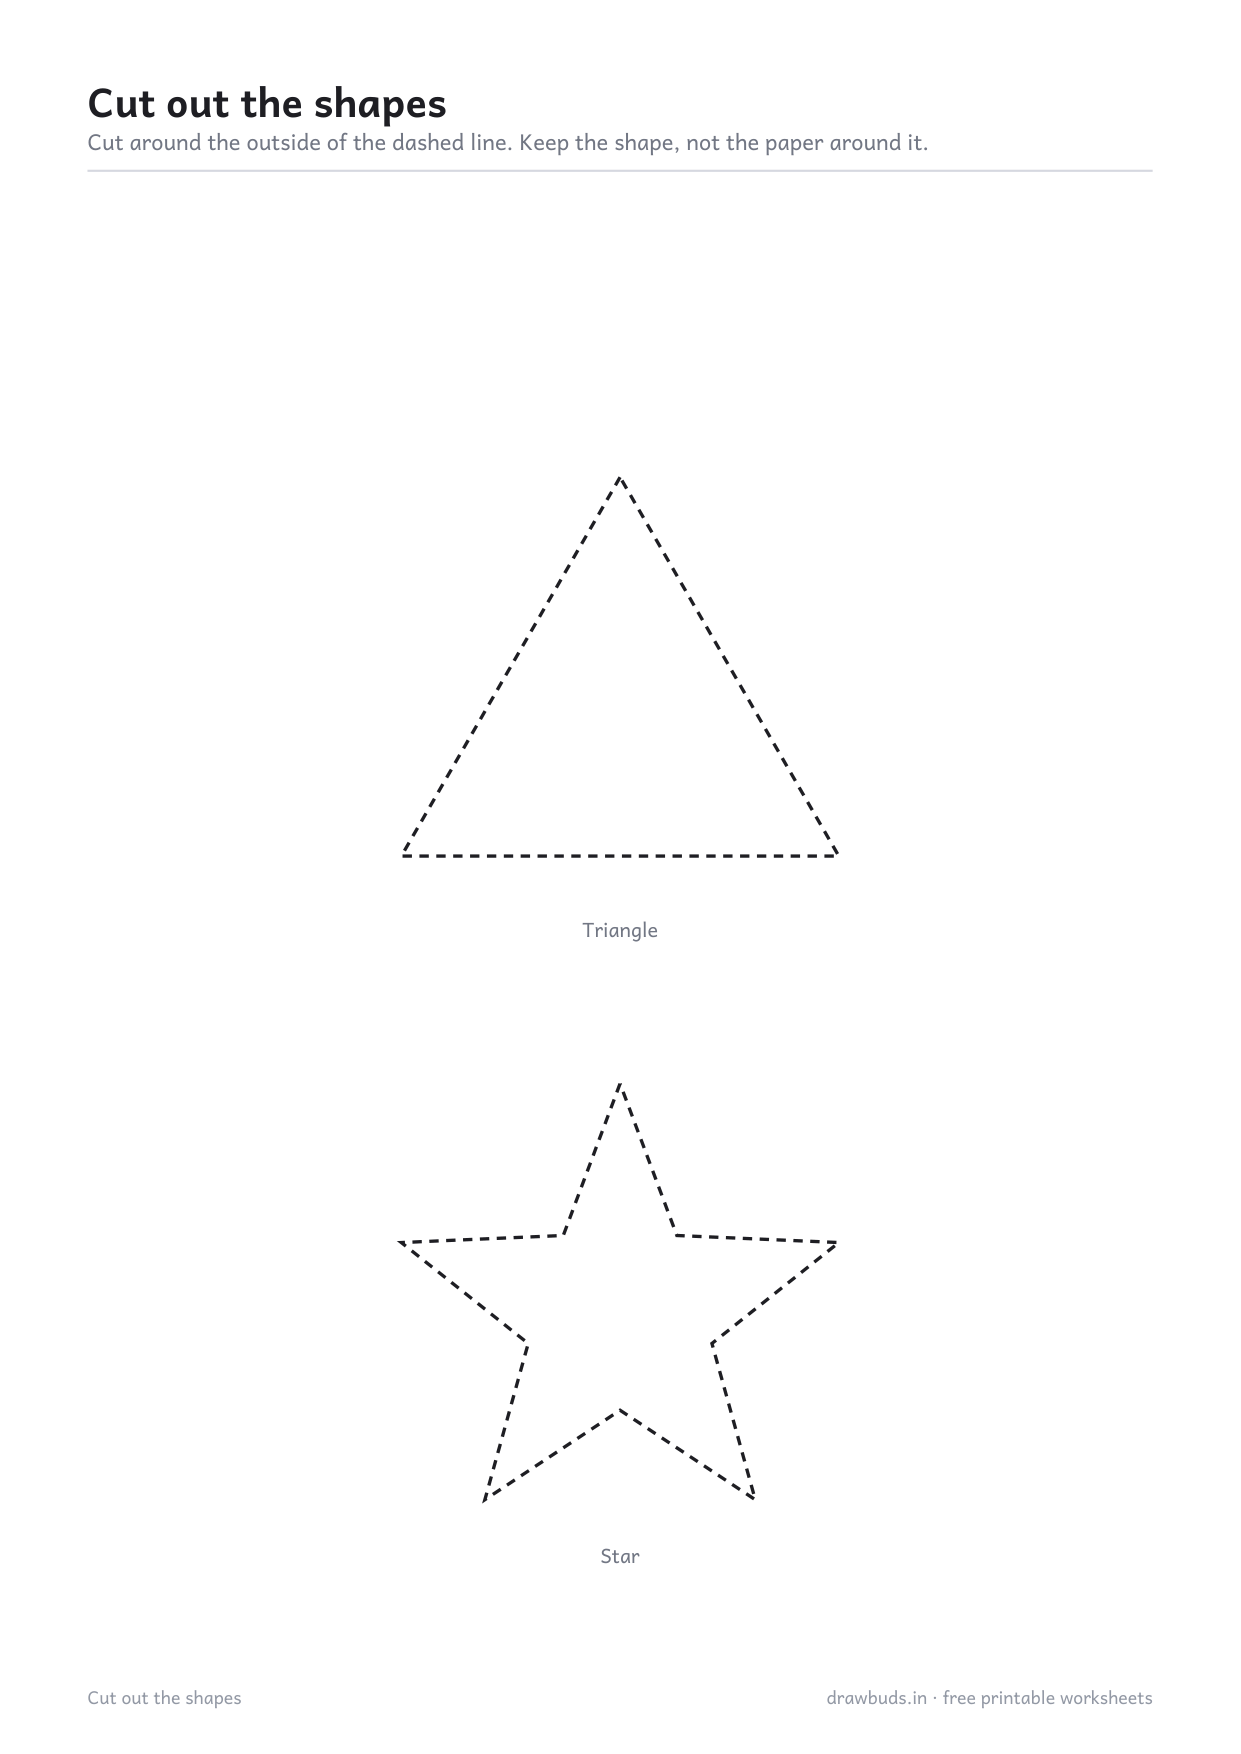
Eight line pages, five cuts each, getting harder: straight lines twice, wide waves twice, zigzags, arches, bumps, then loops. Four shape pages with two outlines each to cut out whole — circle and square, triangle and star, heart and apple, fish and butterfly.
Every line starts with a small pair of scissors printed at the edge, so a child knows which end to begin at without being told each time.
The order the lines are in
Straight comes first because it needs no turning. Waves come next because they need the paper turned, not the scissors. Zigzags are harder than waves despite looking simpler: a corner needs a full stop, a turn of the paper, and a fresh cut, and children try to swivel the scissors instead. Loops are last.
The two instructions that fix most of it
Open the blades wide and cut long. Small snips at the tip are the commonest habit and the slowest — a child snipping their way along a line will give up before the end of it.
Turn the paper, not the scissors. The hand holding the scissors stays still and points forward; the other hand does the steering. This is the single thing that turns cutting from a struggle into something a four-year-old can do.
Safety
Blunt-nosed children’s scissors, and an adult in the room. Left-handed children need genuinely left-handed scissors — the blades are reversed, not just the handles, and with right-handed scissors a left-handed child cannot see the line they are cutting.
What comes next
Pre-Writing Lines uses the same shapes with a pencil.
Printing this one correctly
In your printer dialog set Scale to 100% or Actual size, not Fit to page. Fit to page shrinks the tracing letters and they stop matching the size a child's hand is learning.
Plain paper is fine for crayons and pencils. If your child uses felt pens, 100 gsm paper stops the ink bleeding to the next sheet.