Writing Practice for 3-4 Year Olds
Writing practice for 3-4 year olds: lines, curves, waves, zigzags, loops, circles and a name page, in the order a hand learns them. Free PDF.
- Pages
- 12
- Ages
- 3-4
- Paper size
- A4 and US Letter
- Black ink only
Same worksheets, two paper sizes. Free to print at home, at school, and in a classroom of thirty.
Twelve pre-writing strokes in difficulty order, two free rows on every page
A three-year-old cannot write a letter, and asking for one is how a child decides writing is a thing they are bad at. Every letter is built out of about eight marks – a straight line, a slant, a curve, a circle, an arch, a zigzag, a loop, a corner. This book practises those marks and nothing else, in the order a hand actually manages them.
The twelve pages, hardest last
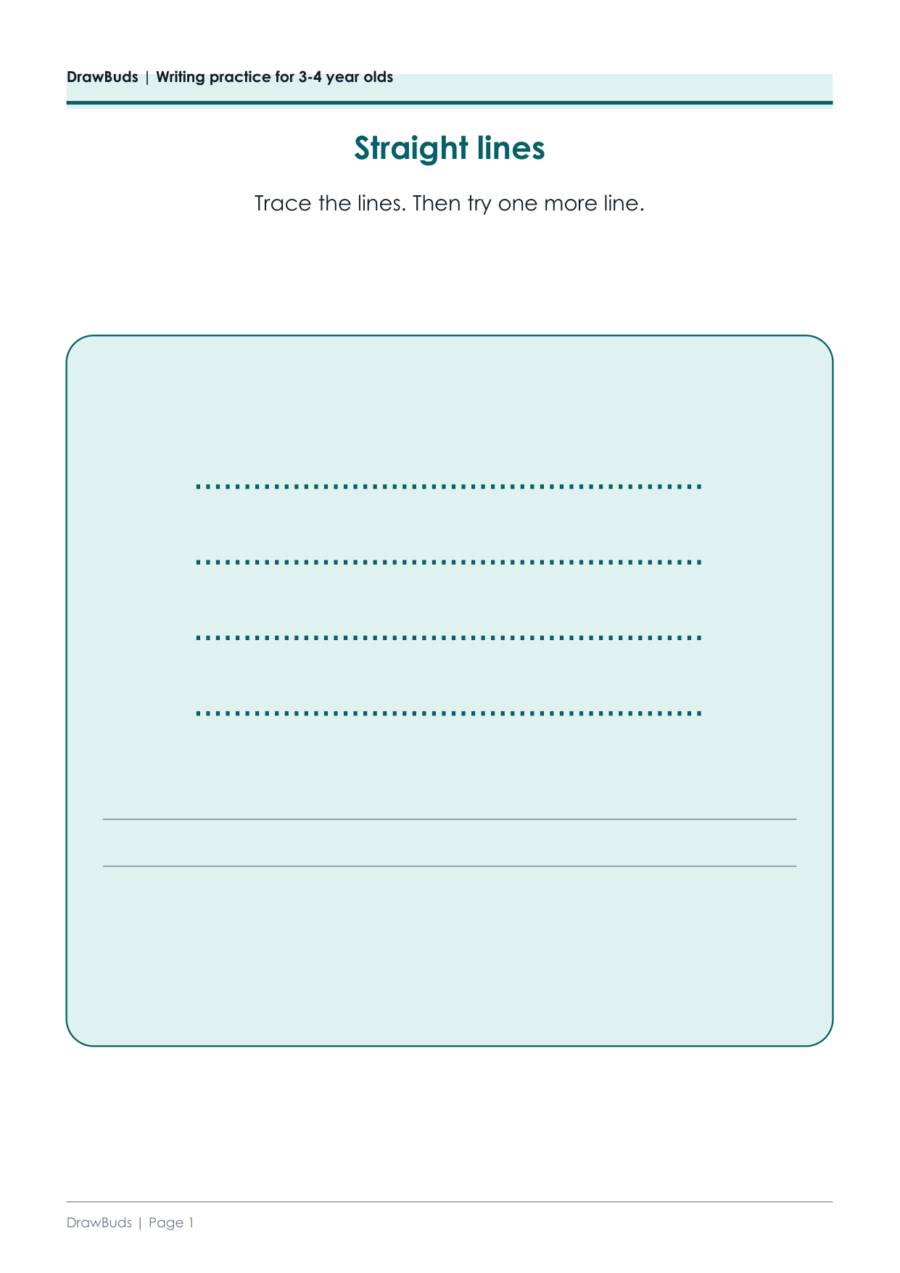
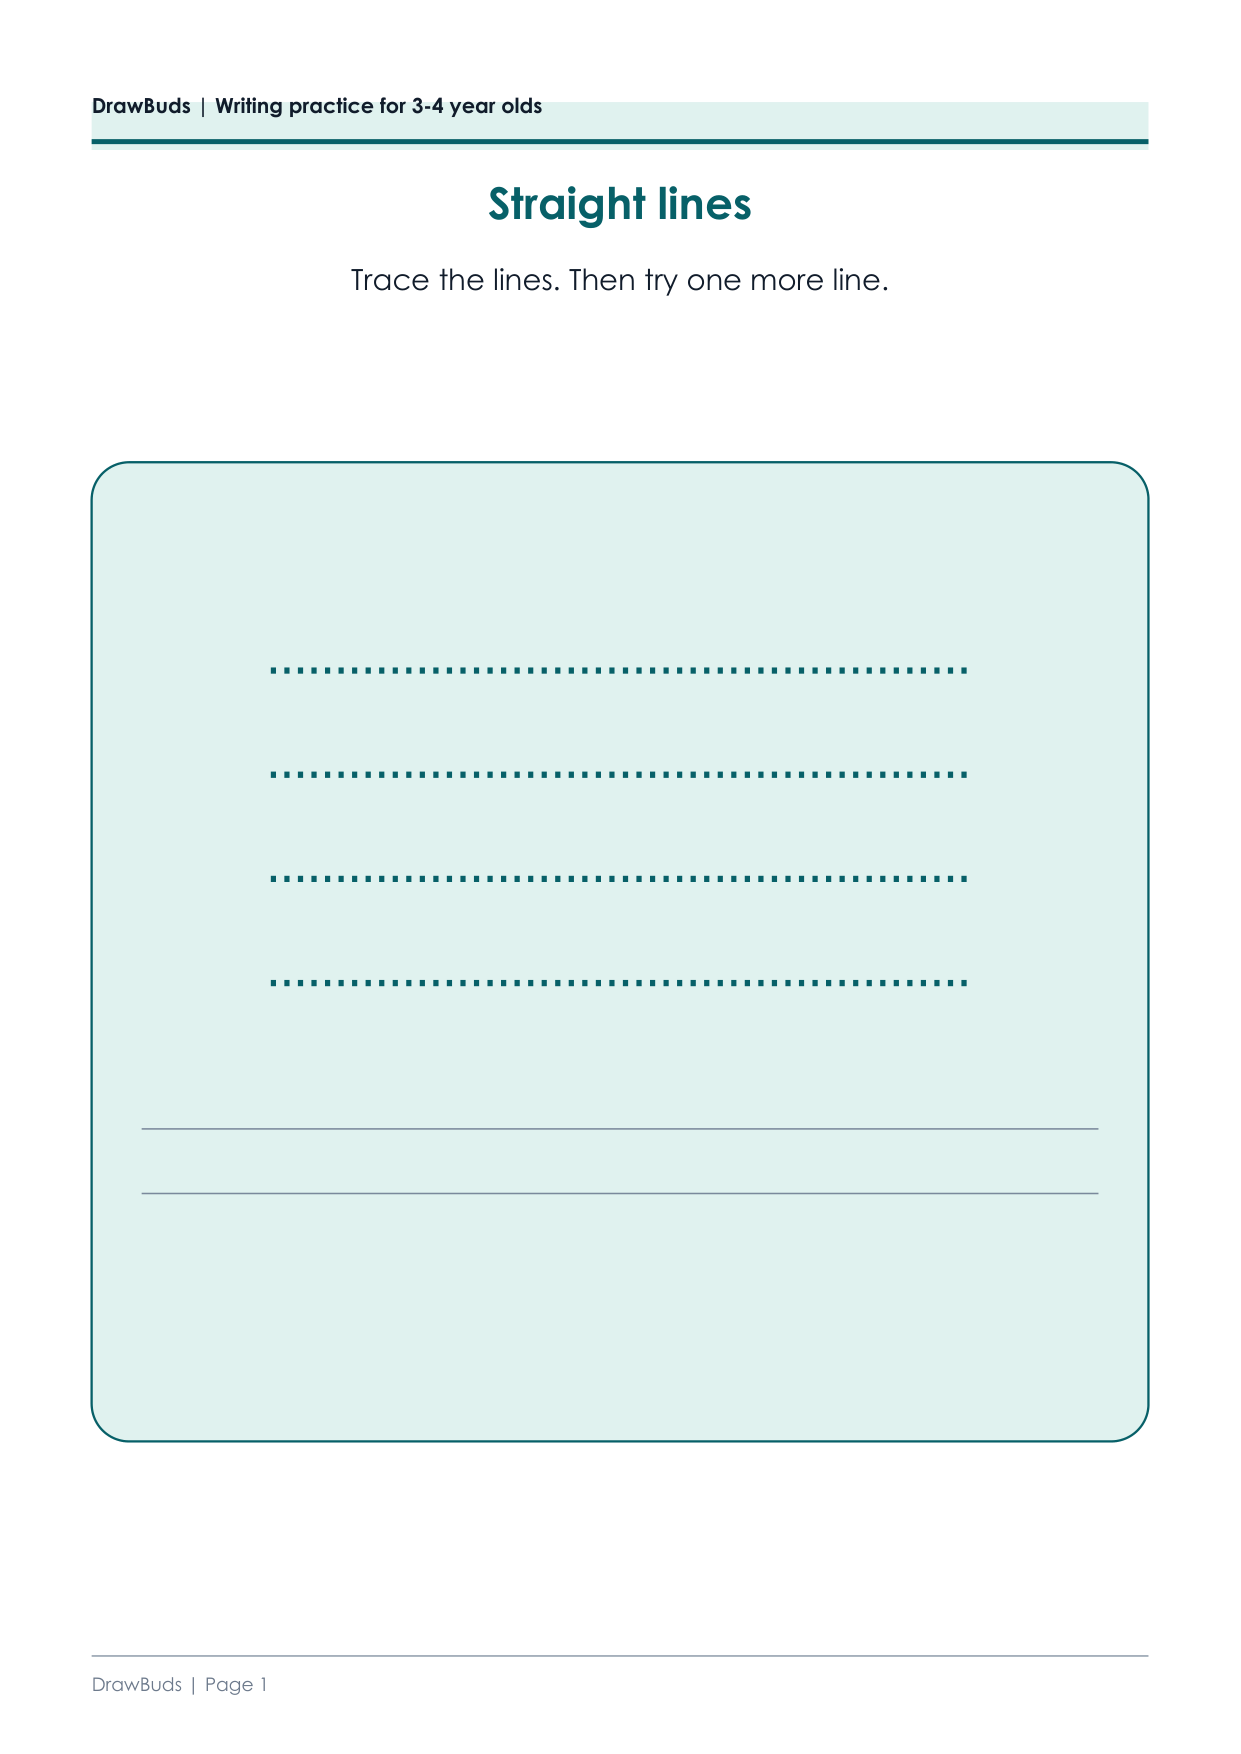
- Straight lines – four dashed rules to trace left to right.
- Slanting lines – dot to dot, the stroke that later becomes v, w, x and k.
- Curved lines – two rows of smooth scallops.
- Waves – the same curve, unbroken, so the pencil never stops.
- Zigzags – corners, which need the pencil to stop and change direction.
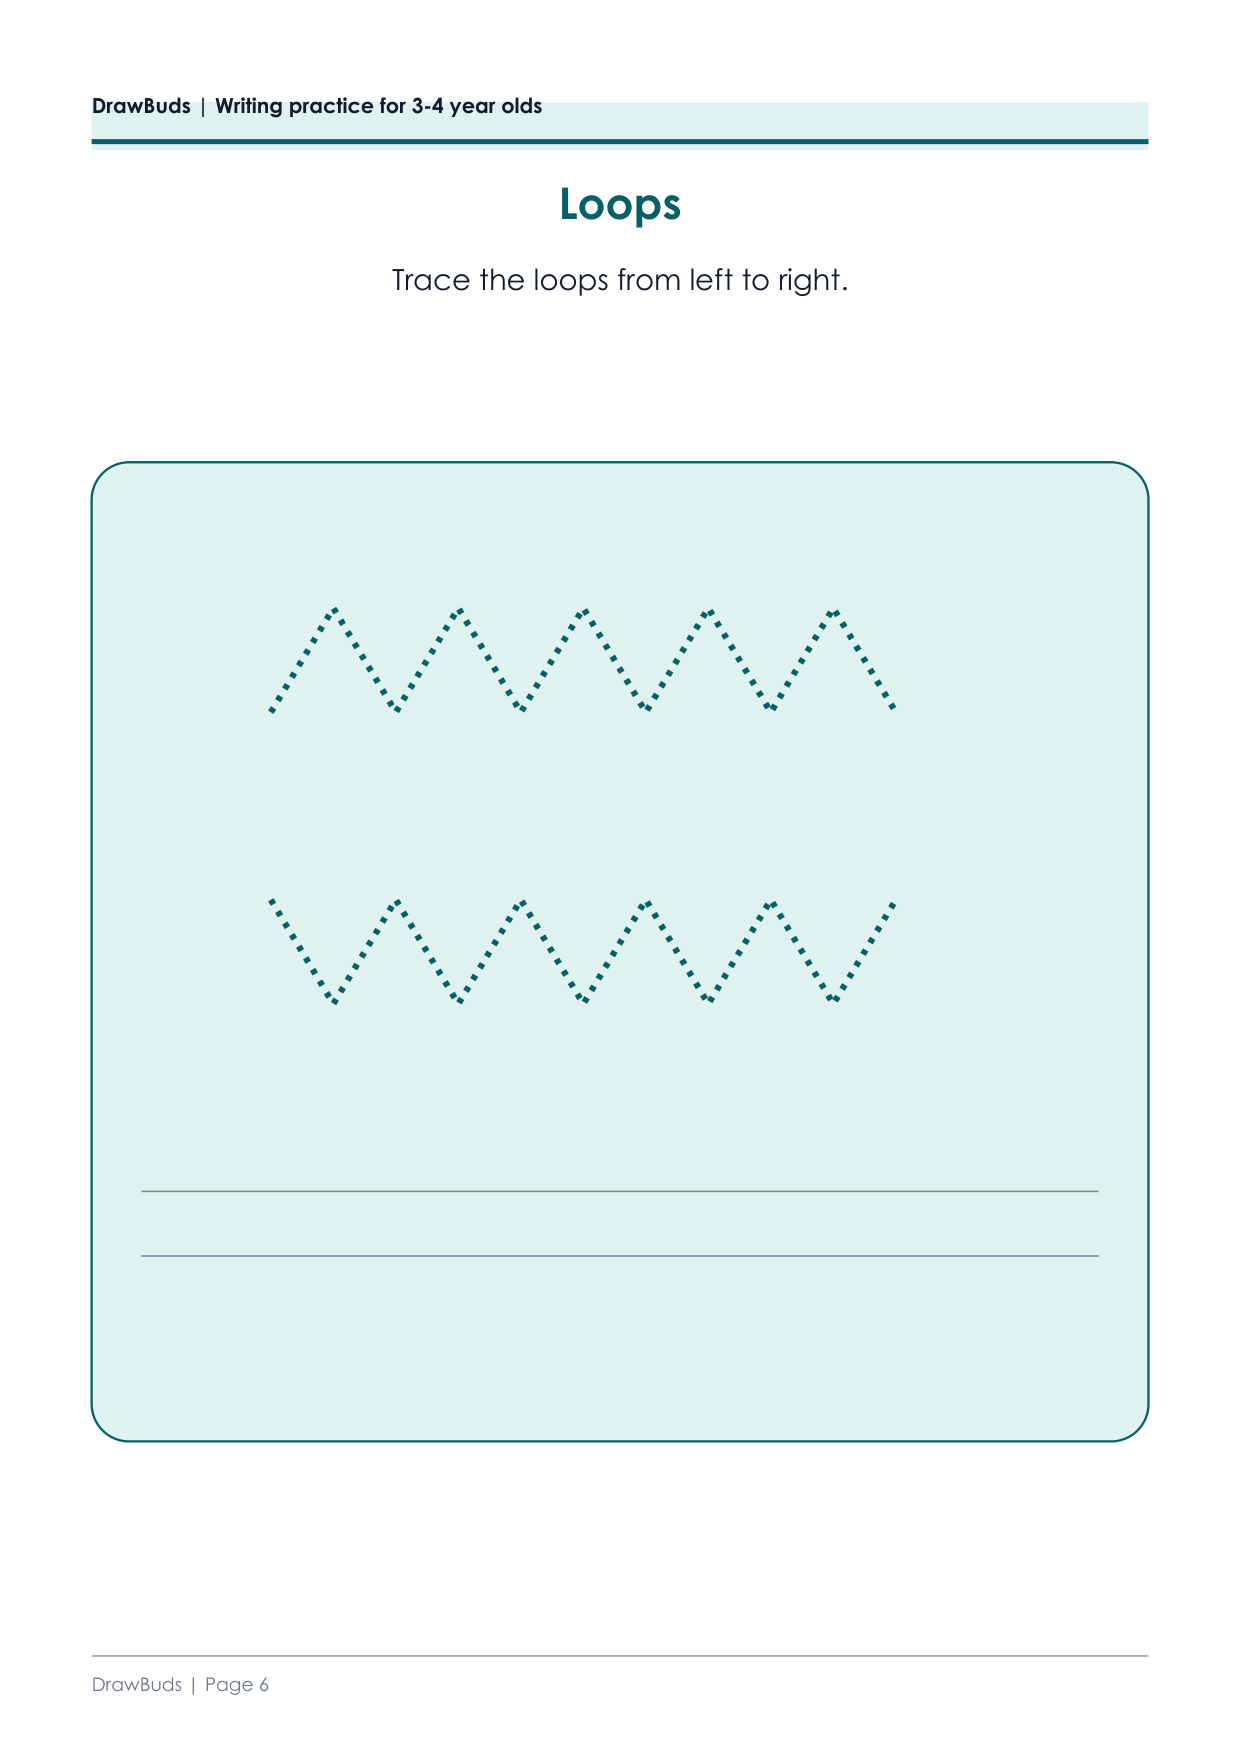
- Loops – the first stroke that crosses its own path.
- Big circles – three of them, large enough to draw from the shoulder.
- Arches – three hills, the shape inside n, m and h.
- Follow the road – two wide roads from a filled circle to an empty one.
- Trace the shapes – circle, square, triangle.
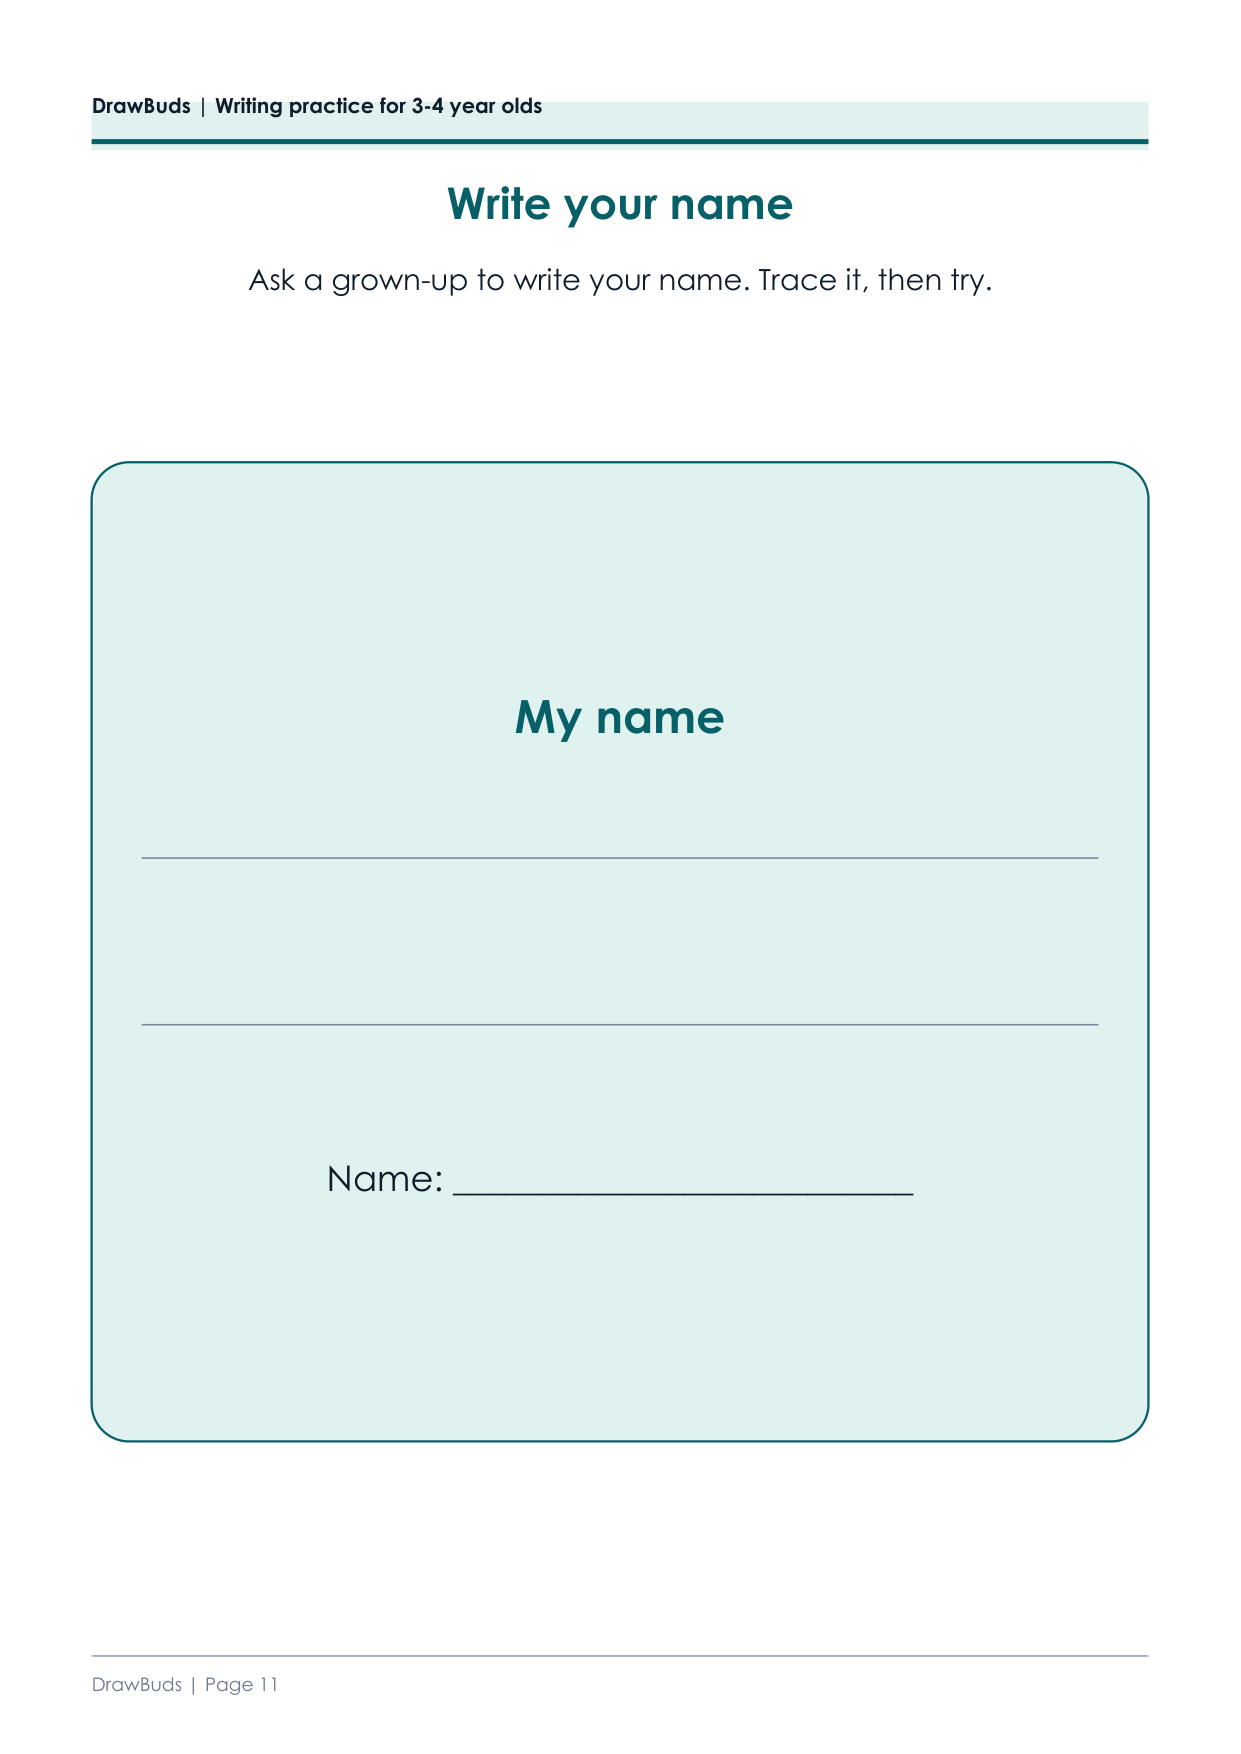
- Write your name – a grown-up writes it, the child traces it.
- Pattern review – four patterns, and a row to continue.
The two empty rows matter more than the dashes
Every page ends with two or three ruled rows that have nothing printed on them. Tracing a dashed line is a following task; the empty row is the first time the child produces the stroke themselves. If a page is going badly, the honest fix is to trace one more row and leave the empty one – not to fill it in for them.
Zigzags before loops, circles before name
The order is not decorative. A corner needs the pencil to stop, which a young hand can do before it can keep a curve moving; a loop needs the line to cross itself, which is genuinely harder. The name page is eleventh because a name is a string of letters and letters come after strokes – the reasoning behind that sequence is set out in the order to teach handwriting.
Which of these two books to print
This one is the stroke ladder: the same marks, made harder page by page, with no picture to explain them. If your child would rather draw than practise, print writing activities for 3-4 year olds instead – the same strokes, but every one is a reason (rain falling, a bee’s path, a balloon string). Most children need both, in that order: activity first, ladder second.
Before you print
A4, one side, black and white is fine – the accent colour is decoration and every instruction is also written in words. Print single pages rather than the whole set at once; twelve pages handed over at once tends to become twelve pages half done. If your child is still holding the pencil in a fist, that is normal at three and worth reading about in pencil grip by age before correcting anything.
Printing this one correctly
In your printer dialog set Scale to 100% or Actual size, not Fit to page. Fit to page shrinks the tracing letters and they stop matching the size a child's hand is learning.
Plain paper is fine for crayons and pencils. If your child uses felt pens, 100 gsm paper stops the ink bleeding to the next sheet.